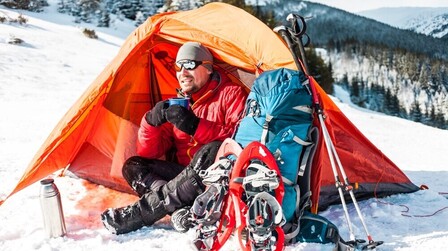
After years of camping in a variety of weather conditions, we have finally learned some tips and tricks to survive better in harsh outdoor environments. Below is our experience on how to stake down a tent securely in deep snow.
Without further ado, let’s get into it!
Choose The Right Tent
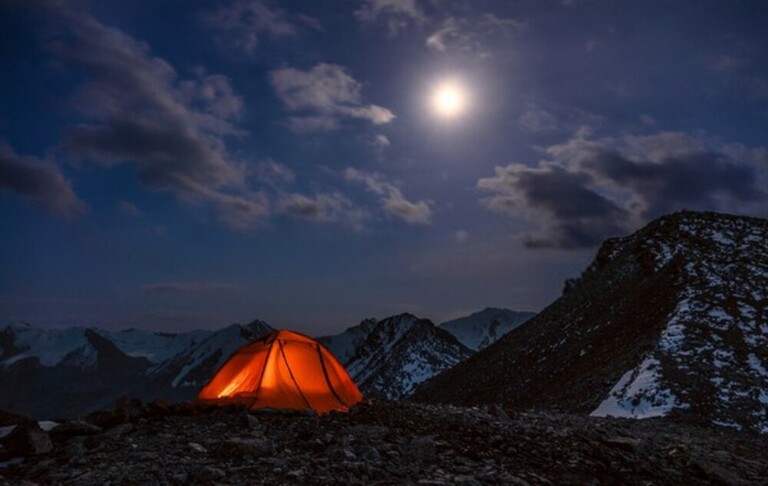
The staked-down tents might require extra effort and time to set up. In turn, they stay more steady in strong windy conditions, which is perfect for a harsh environment. The freestanding tents are easier and simpler to pitch, as long as it’s not aggressively windy.
Now, maybe some people are wondering “what’re freestanding tents?”.
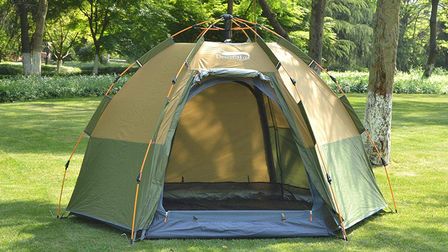
As its name implies, the body of this tent type takes the duty of holding the whole shape of the tent and receives support from tent poles. It doesn't require stakes. Without going limp, these tents are able to be picked up and maneuvered easily.
If your choice is the staked-down tents, pay attention to the stakes; they should be long enough to hold better in snow.

There are a lot of options in stake shapes to consider, too. Choose nail and hook stakes if the weather isn’t too humid and windy. Opt for Y- and V-shaped stakes for worse weather conditions.

Whichever tent type you decide to buy, remember to consider the conditions of your campsite. For example, if it’s windy and heavily snowy, opt for a mountaineering tent or a 4-season one. Otherwise, a durable three-season tent is fine.

Extra tips:
When choosing a camping tent for deep snow conditions, make sure that its lines can hold various anchoring options, consisting of tying tent lines to ice axes jammed into the snow, ski poles, or skis.
Site Selection

Looking for the right place to pitch your tent in deep snow conditions is very essential. There are some musts to consider:
Make Sure There’s Nothing Dangerous Or Risky Above Your Tent Roof
While most 4-season tents are constructed of thick nylon and aluminum frames, they can be torn or bent by heavy snow piles up or falling branches.

To avoid that, avoid camping under a tree, especially big trees or rock muzzles.
Find An Area Without Preventing Any Avalanche Danger
To identify avalanche terrain, you should consider three things:
- Terrain traps
- Orientation to wind
- Slope angle
Terrain traps, such as cliffs, large rocks, trees, or those areas with gullies and deeply shaped bowls, make the escape from an avalanche nearly impossible by either creating a deep burial or increasing the odds of traumatic injuries, or both.

Orientation to wind plays a huge role in forming an avalanche. During previous storms, they transport loose snow fallen and also dispense falling snow unevenly.
Unstable wind slabs take the highest risks of releasing huge slab avalanches. They usually appear on the lee slopes.
Avalanches usually happen on over 30-degree steep slopes.

So, you should avoid pitching your tent anywhere over 20 degrees of incline, especially when the snowpack is hugely unstable.
Get Some Wind Protection
Find a place that has no risks of falling dead branches but still gives you some wind protection. These places are usually in rocky outcroppings and mild slopes.


Extra tips:
- Find a camping spot as near to a running water source as possible to save fuel for melting snow
- In a storm, look for uniquely natural landmarks to find the best place for pitching your tent
- Camp in a south-facing area, outcropping, or bench will offer more warmth during daylight

How To Stake Down Your Tent In Deep Snow
Keep Snow Out Of Your Tent
This helps to avoid refreezing and condensation formed inside your tent. Always remember to brush boots and clothes off whenever you get in the camping tent.

Use A Groundsheet
When you’re sitting, moving, or sleeping inside the tent, that might make the underneath snow layer melted. The problem is once refreezing, it might create sharp, ripping points.
Placing a groundsheet underneath your tent is a great solution.
Anchor Your Tent Properly


At each stake-out point of your tent, add a cord, then wrap it around the anchor. Bury it 12” deep to the snow then pile with snow on top. Pack it down and wait until the snow refreezes for extra holding power.
Note: Don’t tie a knot as it will be frozen, which is hard to undo when you want to stake up your tent
Extra tips:
- Don’t pitch your tent facing uphill because it will invite cold air inside.
- Pitch the tent 90 degrees to the wind orientation to prevent snow from being blown inside
- Smoothen the snow before staking down your tent to avoid sinking
Conclusion
We have just shown you everything to know about how to stake down a tent securely in deep snow. Do you find our post helpful or meet what you’re looking for? Do you have any good tricks to pitch a tent in such harsh conditions? Please let us know. Finally, thanks for reading!


