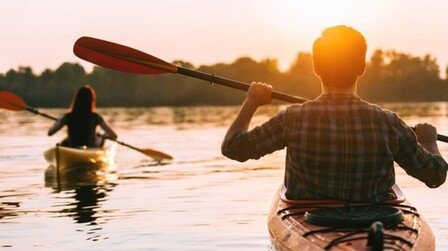
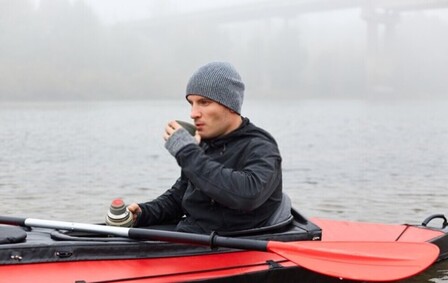
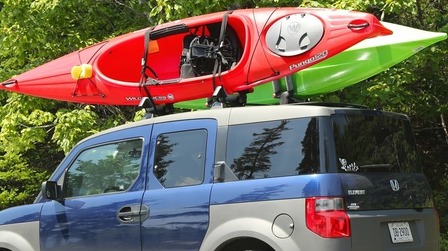
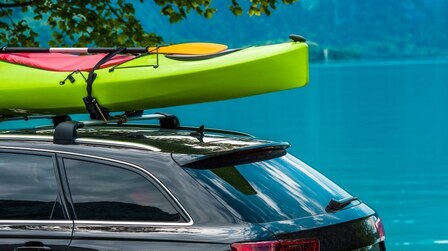
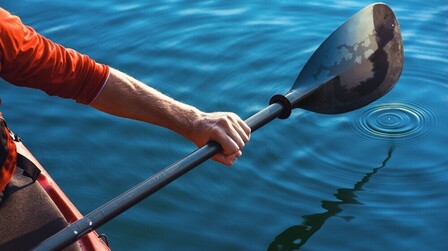
While kayaking requires stability and many skills, taking pictures while kayaking is even harder.
You can’t just gear up and get straight to the water on your kayak for photographing since there are probably lots of risks, such as you accidentally drop your camera gears into the water, or it’s you who falls down.
But the worst scenario is you can’t take any good pictures after a long day. To avoid them, here is everything about how to take pictures while kayaking before starting your trip. Check it out!
Choose The Right Kayak For Photography
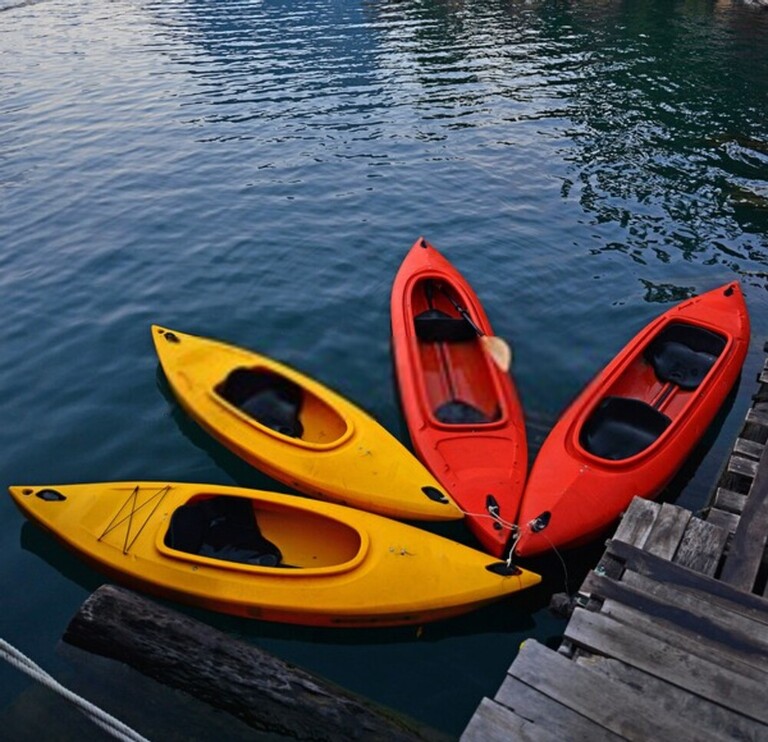
- What you plan to photograph
- Your size
- Your kayaking ability
How much camera gear are you going to carry along during the next kayaking trips?

You should make sure that the kayak storage or cabinet is spacious enough to accommodate all of them.

Besides, it should be roomy enough for you to sit comfortably in, along with your gear.
With the same number of camera gears, a small person will sit inside a thinner boat with comfort while a big, heavy guy will not.
Lastly, consider your kayaking skills to choose the right boat. If you’re a beginner to the intermediate kayaker, go for an extra-large kayak because it is more stable and less tippy while you’re photographing.


Opt For The Right Lens For Kayaking Shots
Choosing lenses is not an easy task.

There are several elements that any photographer should keep in mind while opting for a new lens:
- Your budget
- What you plan to photograph: landscapes or wildlife?
- While camera devalues, lenses hold their values from time to time
- Your sensor size
The more kinds of lenses carried along the kayaking trip, the more chances to have beautiful photos. But too many lenses will become cumbersome and even not fit the boat cockpit storage.
Not to say that switching between lenses on the water isn’t as easy as it seems.
Regardless of the number of lenses you can buy, also pick those with Vibration Reduction features. For landscapes, go for a wider lens ranging from 12mm to 55mm.

For wildlife, a lens ranging from 200mm to 300mm is perfect.

- Microfiber rags – for eliminating salt spray from the lens
- A shutter release cable or a small tripod – for more stable photographing
- A polarizer – for reducing glare from the water’s surface
- UV filters – for protecting your lenses
Select The Right Camera

If you want to take professional-quality photos, choose a SLR with lenses.

A model at mid-tier ranges is better than a too expensive one, in our opinion because you will get more relaxation while on the water.
If you need a compact camera for selfies, getting exciting water-angles, and hassle-free video recording, or something easily compatible with your smartphone, pick a small Garmin or GoPro.

Whichever the one you choose, they must be waterproof, and you should make sure to secure them to your kayak deck or PFD so that they won’t unexpectedly fall overboard.
Considering the right camera sensor is another difficult task.

Learn How To Work With Your Camera

Mastering your gears is a basic thing that all photographers should do. Light is and will always be the raw material in photographing, and unluckily, it can’t be controlled.
You have to take fast action when the light is changing; the chance might come just once during a long day.

What would be if you don’t know how to change the focus point, to quickly override the meter of your camera, or to customize settings? Learn now! Even if you own a cheap camera, once knowing how to master it, taking beautiful photos isn’t an impossible thing.
Go For A Larger Memory Card
Changing a memory card while you’re kayaking is difficult, and the risk of dropping it into the water or the boat deck is really high.

Cut The Speed
It’s impossible to kayak and observe the environment simultaneously.

From that point, if you want to start seeing the wildlife more for some good photoshoots, paddle more leisurely or let your boat float by itself once in a while. By this, you’ll get extra time and attention to the site. You even get more chances to encounter rare species.
Be Creative In Your Camera Angles
We never want to take photos with boring angles, right?

Try photographing at different angles – in the water, close to the water, or above your head. Make your kayak perspective more appealing.
Conclusion
Photographing while kayaking is hard yet an interesting experience to level up your shooting skills. We hope that our tips stated above were helpful to you to take more beautiful pictures while you’re kayaking. Thanks for reading!

